

Most POS systems get judged by what happens at the register. That’s a mistake. The register is the front door—but the real profit and control live in the back office.
That’s where the clover dashboard matters.
If you’re using Clover (or considering it), the clover dashboard is the web-based command center where you manage the parts of your business that actually determine whether you win or struggle: reporting, employees and permissions, inventory structure, taxes and fees, and the apps that expand your system.
This is a deep, practical guide to what the clover dashboard does, how to use it, and which areas you should set up first so your Clover system runs clean and scalable.
What the Clover Dashboard is (and what it is not)
The clover dashboard is your centralized online portal for managing your Clover business in real time—sales visibility, employee controls, inventory setup, and app management in one place. Clover describes it as a way to keep sales, employee performance, inventory, apps, and business goals organized in a single central location with live data.
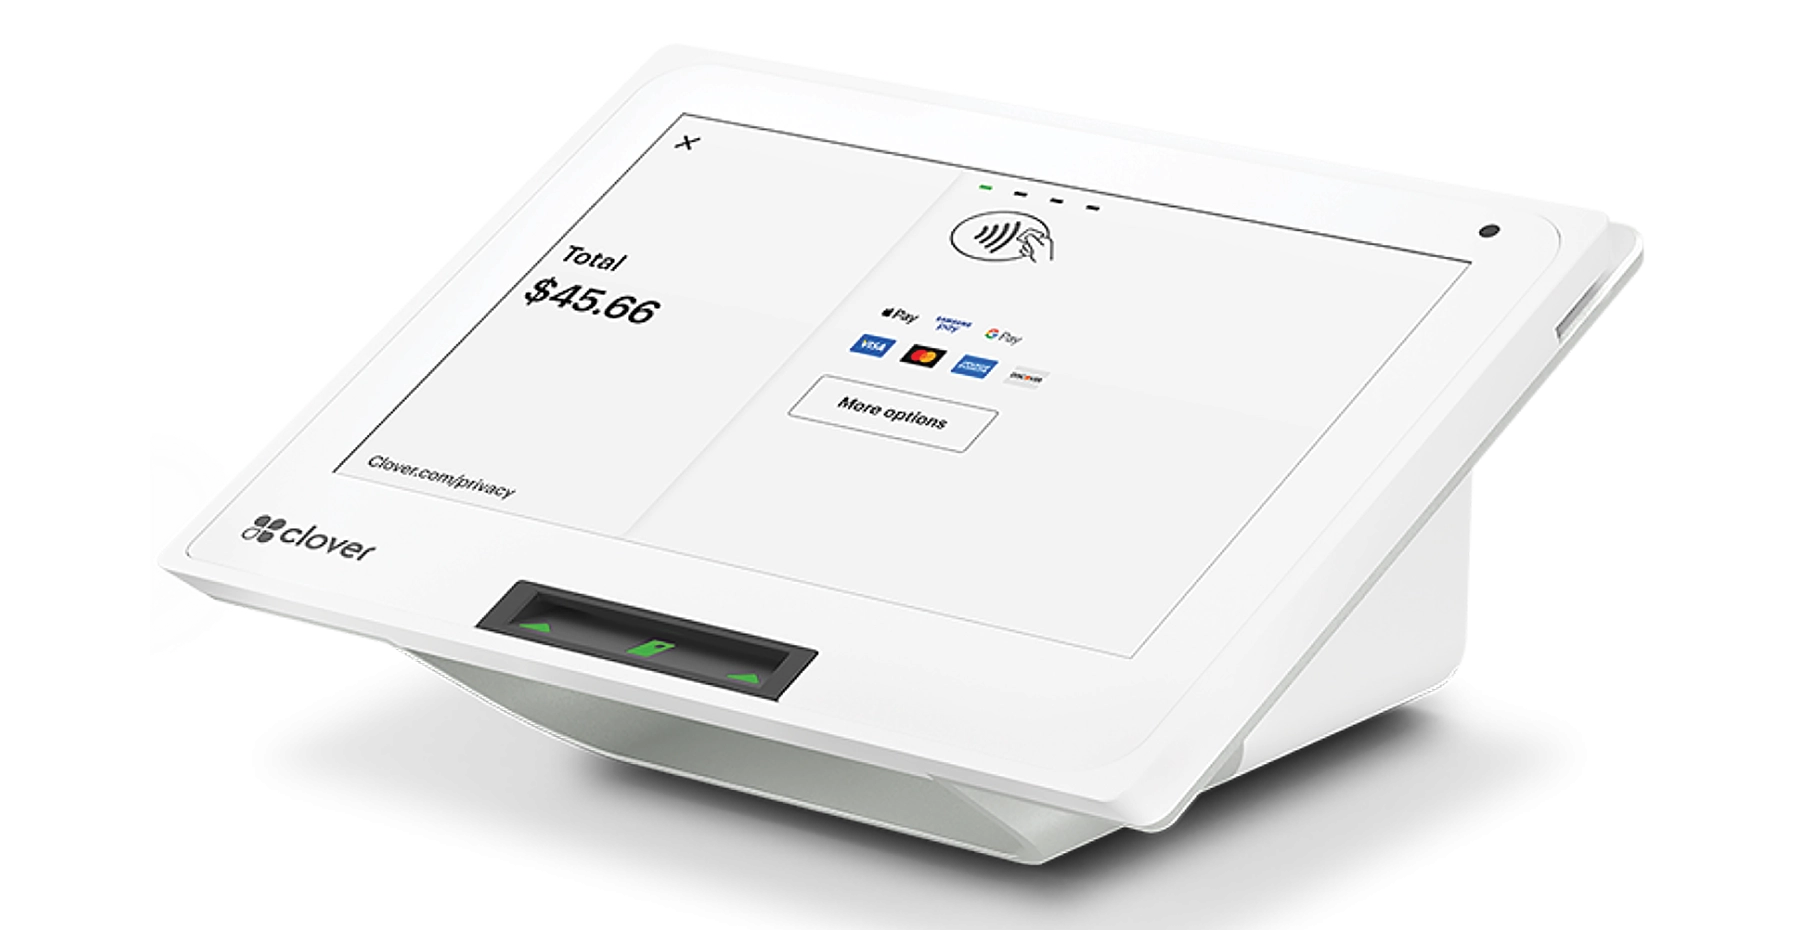
It is not the same thing as the Clover device screen (Register, Counter Service, etc.). Think of it like this:
-
Device apps = run transactions and operations in the moment
-
Clover dashboard = configure, control, analyze, and optimize everything behind the scenes
If you only “use Clover on the terminal,” you’re using maybe 40% of what you’re paying for.
Why the Clover Dashboard is where owners actually make money
The clover dashboard is where you stop guessing.
Clover’s reporting tools are designed to show performance in real time and help merchants make better decisions with customizable business reports. And Clover specifically calls out dashboard access as a way to view reporting across devices or anywhere you access the Clover Dashboard.
That matters because in most small businesses, profit leaks come from the same places:
-
pricing errors
-
discount abuse
-
inventory shrink
-
staffing and permission problems
-
taxes configured incorrectly
-
weak visibility into what’s selling and when
The clover dashboard is where you plug those leaks.
Clover Dashboard reporting: what it’s built for
For most owners, reporting is the first reason they log into the clover dashboard. Clover’s own materials emphasize that reporting helps identify best-selling items, busiest days/times, and other key business metrics through customizable reports.
What to set up immediately
If you want reporting that’s actually useful, don’t start with charts. Start with structure:
-
Item categories and labels
Clover inventory “tags” (labels) help organize items and can be used for reporting and even printing logic when associated with printers. -
Reporting groups / categories
Even small changes to category structure can make your reports far more readable. -
Consistent item naming conventions
If you run multiple locations or multiple cashiers adding items, naming discipline matters.
Clover’s dashboard/inventory tooling is meant to help you manage items, categories, and related organization cleanly from one place.
Inventory in the Clover Dashboard: the part most businesses underuse
Clover calls out the Inventory section of the clover dashboard as the place to manage items, categories, labels, and revenue classes, and also review popular/top-selling items during specific time frames.
That’s exactly what hardware stores, liquor stores, retailers, and restaurants need: visibility + control.
Inventory features that matter in real life
Clover’s inventory experience includes tools to set up and manage inventory faster, including bulk editing and improved filters. It also promotes faster search for items, categories, modifiers and modifier groups through alphabetized lists.
Practical uses:
-
bulk price updates for inflation (without touching each item manually)
-
rapid cleanup after importing a SKU list
-
finding the exact item/modifier fast during setup
-
reducing “mystery items” and duplicate items that wreck reporting
If your inventory is messy, your reporting will be nonsense. The dashboard is where you keep inventory disciplined.
Employee management, roles, and permissions: the business protection section
This is one of the most valuable parts of the clover dashboard, and the part owners tend to configure too late.
Clover has official guidance for managing roles and access permissions directly through the Clover dashboard (including adding new roles and assigning permissions). And Clover also positions employee management as a way to manage schedules, permissions, and performance from one location.
Why permissions matter
Because permissions control:
-
who can issue refunds
-
who can apply discounts
-
who can void transactions
-
who can edit inventory/prices
-
who can access reports
-
who can manage apps/settings
A clean Clover setup typically has:
-
cashier role (limited power)
-
shift lead role (some override ability)
-
manager role (refund authority + reports)
-
owner/admin role (full control)
If you don’t build roles early, you end up with “everyone is admin,” and that is how money disappears quietly.
Taxes and fees: configure once, avoid pain later
Tax mistakes are expensive and stressful. Clover provides dashboard-based setup for taxes and fees through Account & Setup → Taxes & Fees, including adding tax rates or flat fees. Why this matters:
-
the POS can calculate taxes correctly only if rules are configured correctly
-
reporting and tax liability summaries depend on accurate setup
-
changing taxes later is messy if inventory isn’t organized
If you operate in multiple tax jurisdictions (or sell taxable + non-taxable goods), don’t guess. The clover dashboard is where you configure it properly.
Apps: how the Clover Dashboard becomes a custom-built system
Clover’s App Market is one of the strongest reasons businesses pick Clover—because it lets you tailor the POS to your business model.
Clover provides an App Market for finding and connecting apps, and their help guidance explicitly walks merchants through using the Clover dashboard to access More → App Market and browse/search apps. The clover dashboard is where you:
-
browse apps
-
install/uninstall
-
manage app settings
-
connect features like loyalty, online ordering, employee tools, inventory extensions, subscriptions, delivery integrations, etc.
Clover’s own documentation also describes Clover web apps and integrations that can connect services through the merchant dashboard using REST APIs and OAuth-based connections.
A practical app mindset
Don’t install apps like you’re downloading games.
Install apps to solve one of these specific problems:
-
increase revenue (loyalty, marketing, upsells)
-
reduce labor (automation, reporting, payroll integrations)
-
reduce mistakes (inventory controls, modifiers, availability rules)
-
expand channels (online ordering, QR ordering, text-to-pay integrations)
The dashboard is where those upgrades happen cleanly.
Modifiers, availability, and menu accuracy (especially for restaurants)
If you run a restaurant, your profitability depends on menu accuracy and modifier control. Clover supports modifier groups and modifiers, and Clover’s documentation notes that modifier availability can be managed through the Merchant Dashboard (and via APIs).
Why this matters:
-
“86’d” items should stop selling automatically
-
modifiers should be consistent (not recreated differently by each manager)
-
availability rules reduce refunds and customer complaints
This is another area where the clover dashboard makes operations more controlled and less dependent on memory.
Using the Clover Dashboard as an owner: the weekly routine that works
If you want Clover to actually improve performance, use the clover dashboard on a schedule.
Daily (5 minutes)
-
check sales totals and refund volume
-
look for anything abnormal (big voids, odd discounts, spike in refunds)
Weekly (15–30 minutes)
-
review best sellers and slow movers
-
check labor/performance indicators (if you’re using employee reporting)
-
confirm inventory changes and ensure no duplicated items exist
Monthly (30–60 minutes)
-
tax reporting review
-
top items by net sales (not just quantity)
-
promotions and pricing adjustments
-
app subscriptions: remove what you don’t use
This is how the clover dashboard becomes a profit tool instead of a login you forget exists.
Common Clover Dashboard mistakes (and how to avoid them)
-
Leaving everyone with admin permissions
Fix: create roles and restrict sensitive actions. -
Messy inventory naming and categories
Fix: standardize categories and labels early; use bulk editing and filters. -
Installing too many apps
Fix: install apps with a single goal; review monthly. -
Not configuring taxes correctly from the start
Fix: set taxes/fees in dashboard and validate receipts. -
Not using dashboard reporting to guide decisions
Fix: build a weekly report routine.
Where VMS fits (practical, not salesy)
If your Clover dashboard is set up correctly, your devices run smoother, your reporting becomes meaningful, and your staff stops improvising processes. VMS helps businesses get the configuration right—especially for inventory structure, employee roles, and making sure the system is “ready to use” instead of “ready to figure out.”
If you want a quick overview of Clover options and setup help, start here:
-
Clover POS system overview (VMS):
https://www.getvms.com/clover-pos-system/ -
POS feature breakdown (VMS):
https://www.getvms.com/pos-system-features/
Still running an outdated register?
VMS sets up a modern Clover POS matched to how your business actually runs — installed, configured, and supported by a team that answers the phone.
Or call our team: 888-902-6227
Final takeaway
The clover dashboard is not just a reporting page. It’s the operational backbone of Clover—where you build structure, enforce control, and pull real data to make decisions.
If you only use Clover on the terminal, you’re missing the part that actually scales.
Have questions about POS systems?
Fill out the form below and a VMS payment specialist will contact you shortly.